The Homemade Apple Pie Playbook: A Printable Step-by-Step Guide for Confident, Flaky Results
Apple pie turns simple ingredients into a showstopper—when the crust stays tender, the filling sets, and the flavors balance. The goal of a printable, repeatable playbook is to replace “hope it works” with clear checkpoints: cold dough, evenly sliced apples, steady bubbling, and a full cooling window so the first slice stands tall.
What This Playbook Helps You Do (Without Guesswork)
- Follow a structured, step-by-step flow from prep to cooling so the pie sets properly.
- Build a crust that bakes up flaky instead of tough by using simple handling rules.
- Choose apples and seasonings that taste bright and balanced—never bland or overly sweet.
- Avoid soggy bottoms, watery filling, and collapsed slices with smart thickening and venting.
- Use printable checklists for shopping, timing, and key “stop and check” moments.
Quick Start: Tools, Ingredients, and a No-Stress Timeline
Tools to gather
- Essential: rolling pin, pie dish, baking sheet, pastry brush, sharp knife, mixing bowl, measuring cups/spoons
- Helpful extras: kitchen scale, instant-read thermometer, bench scraper, pie shield (or a simple foil ring)
Timeline that protects texture
- Chill dough: cold fat = flaky layers.
- Assemble fast: keep the crust cool while you work.
- Bake hot early: set structure and jump-start browning.
- Cool fully: a pie “finishes” as it sets on the counter.
Apple Pie Timeline at a Glance
| Stage |
Target Time |
Success Check |
| Make dough + chill |
60–120 min (or overnight) |
Dough feels firm but pliable; no sticky spots |
| Prep apples + season |
15–25 min |
Apples evenly sliced; spices dissolved; no dry pockets of flour/starch |
| Assemble pie |
10–15 min |
Crust stays cool; edges sealed; vents cut |
| Bake |
50–70 min (varies) |
Deep golden crust; bubbling visible through vents |
| Cool before slicing |
2–4 hours |
Filling sets; slices hold shape |
Workspace setup
Clear the counter, preheat the oven fully, and place a rack in the lower third to encourage a crisp bottom crust. Set your pie dish on a baking sheet now so you’re not juggling a full, drippy pie later.
Choosing Apples That Bake Well
For a filling that tastes fresh and still has texture, choose apples that hold their shape under heat. Very soft apples can be delicious, but they tend to melt into applesauce if they’re the main variety.
- Mix varieties for depth: one tart + one sweet + one firm (when available) creates a layered flavor instead of one-note sweetness.
- Slice consistency beats perfection: aim for similar thickness so some slices don’t turn mushy while others stay underbaked.
- Balance the seasonings: sugar for sweetness, lemon for brightness, cinnamon for warmth, and a pinch of salt to sharpen everything.
Crust Fundamentals: Flaky Layers, Not Tough Dough
A flaky crust comes from small, cold pieces of fat that create steam pockets as they bake. A tough crust usually comes from warm ingredients, too much water, or too much mixing.
- Keep fat cold and visible: pea-size pieces are a great target; those pockets become flaky layers.
- Use minimal liquid: add ice water a tablespoon at a time until the dough just holds together when pressed.
- Handle less, chill more: if the dough warms or feels stretchy, pause and chill it instead of fighting it.
- Roll lightly and rotate: gentle pressure + turning the dough prevents sticking and uneven thickness.
- Transfer without stretching: fold into quarters or roll around the pin; stretched dough shrinks in the oven.
Filling That Slices Clean: Thickening, Pre-Cooking, and Venting
Clean slices come from three things working together: the right thickener, enough baking time for that thickener to activate, and enough cooling time for it to set.
- Pick a thickener intentionally: starches behave differently (some set clearer, some set more “rustic”). Measure carefully so you don’t under-thicken.
- Prevent soupy filling: very juicy apples can flood the crust; avoid extra liquid add-ins unless the recipe compensates.
- Optional beginner-friendly step: briefly pre-cook the apple mixture to reduce shrinkage and concentrate flavor before it goes into the crust.
- Vent the top crust: steam must escape; vents also show you when the filling is actively bubbling.
- Cool long enough: slicing early is the #1 reason pies look runny even when fully baked.
Baking for a Golden Top and Crisp Bottom
For additional technique deep-dives, compare notes with trusted baking references like King Arthur Baking’s pie guides and problem-solving rundowns from Serious Eats.
Troubleshooting: Fix the Usual Apple Pie Problems
Printing and Using the Playbook in the Kitchen
Printable Digital Download: What’s Included and Who It’s For
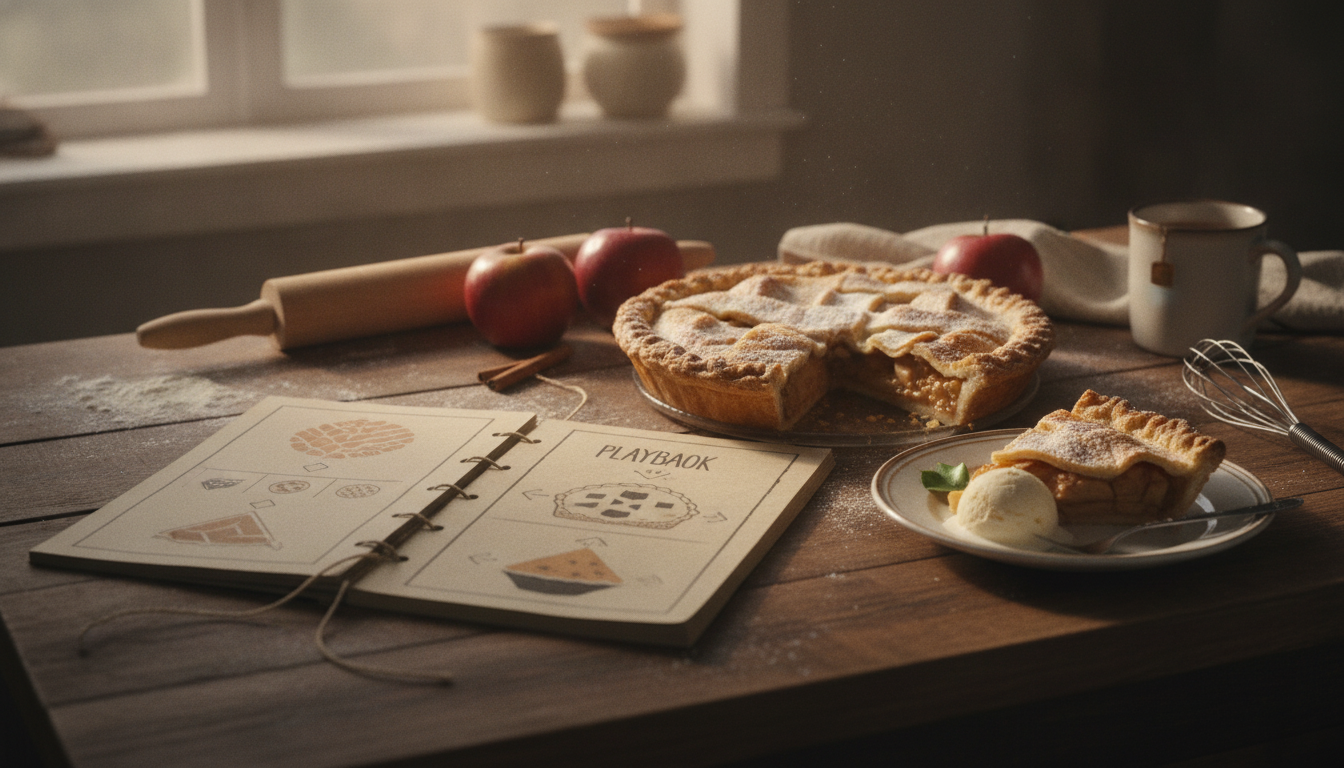
If you want a clear, repeatable method with checkpoints you can follow at a glance, The Homemade Apple Pie Playbook (Printable Digital Download) is designed to guide beginners and home cooks through the moments that matter most: dough temperature, filling thickness, baking cues, and cooling time.
Need a small, thoughtful add-on for gifting season? Pair a homemade pie with something simple and cheerful like 18K Gold Plated Daisy Drop Earrings as a hostess gift idea.
For food safety reminders (especially for storing leftovers with dairy-based toppings), the USDA refrigerator and freezer storage guidance is a reliable reference.
FAQ
How do you keep apple pie from being runny?
Use the right amount of thickener, bake until the center bubbles steadily (not just at the edges), and cool the pie for 2–4 hours so the filling sets before slicing.
What are the best apples for apple pie?
Choose firm apples that hold their shape, ideally using a tart-and-sweet mix for better flavor. Avoid very soft apples as the main base if you want defined slices.
Why is my pie crust tough instead of flaky?
Tough crust is usually caused by warm ingredients, too much water, or overmixing/overhandling. Keep the fat cold, add water gradually, and chill the dough before rolling and baking.
Recommended for you






Leave a comment