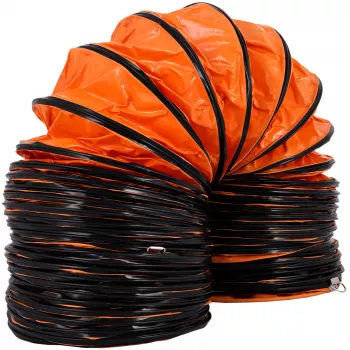
32ft PVC Flexible Duct for 12-Inch Exhaust Fans
32FT Flexible PVC Ventilation Duct Hose for 12-Inch Exhaust Fans
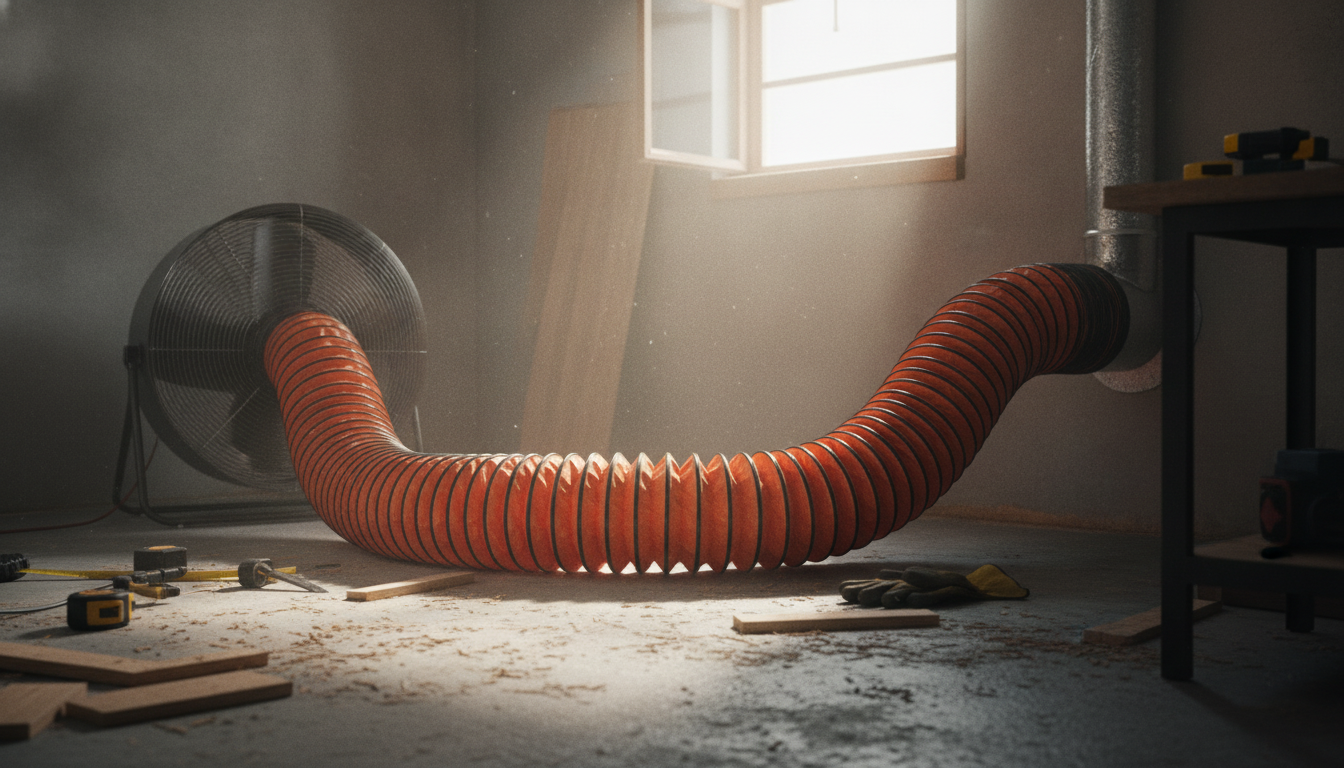
A long, flexible duct run can make the difference between a noisy, inefficient setup and a clean exhaust path that actually moves air where it needs to go. This 32-foot flexible PVC ventilation duct hose is sized for 12-inch exhaust fans and designed for practical routing around corners, obstacles, and temporary or seasonal layouts. When you need reach without piecing together multiple short sections, a single continuous run can help reduce leak points and simplify installation.
What This Duct Hose Is Built For
Flexible PVC ducting is a practical choice when rigid pipe would be difficult to route or overkill for the job. A 32-foot length is especially useful when you’re bridging distance and still want the freedom to reposition equipment.
- Moving air from a 12-inch exhaust fan to a discharge point with a single continuous run
- Routing exhaust through tight spaces where rigid ducting is impractical
- Temporary or semi-permanent ventilation setups (worksites, workshops, grow areas, storage spaces)
- Reducing the need for multiple duct joints that can leak or add resistance
For broader guidance on ventilation and indoor air quality fundamentals, refer to resources like ASHRAE’s ventilation and IAQ information and OSHA’s ventilation overview.
Key Specs and Fit Notes
Getting good performance from flexible ducting is mostly about fit and routing. A secure connection at both ends, plus a path that avoids crushing and sharp kinks, typically matters more than anything else.
- Length: 32 feet (use only what is needed to limit airflow resistance)
- Fan compatibility: designed for 12-inch exhaust fan connections
- Material: flexible PVC duct body suited for ventilation and air movement applications
- Fit tip: confirm the fan outlet collar is 12 inches and plan for clamping or coupling at both ends
Quick Compatibility Checklist
| Item to Verify | What to Look For | Why It Matters |
|---|---|---|
| Fan outlet size | 12-inch collar/outlet | Ensures proper seal and stable mounting |
| Required run length | Shortest workable path | Shorter runs usually move more air |
| Routing obstacles | Bends, turns, elevation changes | Each bend increases resistance |
| Connection method | Clamp/coupler/tape as needed | Helps prevent leaks and rattling |
Where a 32-Foot Run Helps Most
A longer duct length is ideal when your fan can’t be placed right next to the exit point, or when you want a more controlled route for air, odor, humidity, dust, or heat. It also helps when your setup changes frequently and you don’t want to rebuild ductwork every time.
- Ventilating spaces where the discharge point is far from the fan (across a room, down a corridor, to a window/vent port)
- Creating a controlled exhaust route to reduce recirculation of fumes, dust, humidity, or heat
- Situations needing flexible positioning of equipment without rebuilding ductwork
- Projects that benefit from storing the duct and redeploying it as needed
If the goal is healthier indoor air overall (beyond just moving air from point A to point B), the EPA’s guide to air cleaners in the home is a helpful companion resource—especially when ventilation is paired with filtration.
Installation Basics (Strong Seal, Smoother Airflow)
Flexible ducting is forgiving, but it performs best when it’s treated like a real airflow path—not a hose you can crush behind equipment. A bit of planning up front can prevent noisy vibration, leaks, and disappointing airflow.
- Plan the path first: aim for the straightest route with the fewest bends and kinks
- Keep the duct supported: avoid long unsupported spans that can sag and restrict airflow
- Secure both ends: use an appropriately sized clamp or coupling for a tight, leak-resistant connection
- Avoid crushing: do not compress the duct behind equipment or through narrow gaps
- Check for leaks: run the fan and feel for air escaping near joints; reseal as needed
Practical tip: if you hear rattling, vibration, or flapping, it often points to a loose connection, a sharp bend, or a sagging section that’s “pulsing” under airflow.
Performance Tips for Better Ventilation
Longer ducting can work well, but every extra foot and every bend adds resistance. The best results usually come from using only as much duct as needed and keeping the interior as open as possible.
- Use only the length required: excess duct length can reduce airflow
- Minimize sharp turns: gentle curves typically perform better than tight 90-degree bends
- Keep the interior as open as possible: remove twists and avoid flattening
- Match the full system: a strong fan, a restrictive duct path, and a blocked outlet will underperform together
- Confirm the outlet is clear: lint screens, louvers, or temporary covers can dramatically reduce discharge
If airflow seems weak after installation, start with the simplest checks: look for crushed sections, tighten clamps, reduce bends where possible, and confirm the discharge point isn’t partially blocked.
Care, Cleaning, and Storage
Product Options Available Now
- 32FT Flexible PVC Ventilation Duct Hose for 12-Inch Exhaust Fans ($47.51)
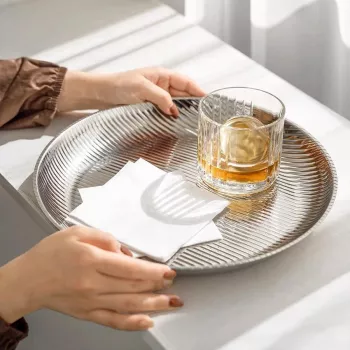
- Luxury 12-Inch Stainless Steel Decorative Tray for Home, Kitchen & Countertop ($74.97)
FAQ
Can a 12-inch fan use a 32-foot duct run without losing too much airflow?
It can, but longer ducting and sharp bends add resistance and can reduce airflow. Performance depends on fan power, how many turns the run has, and whether the duct is kept open and well sealed—use the shortest workable path with gentle curves for best results.
How is the duct typically attached to a 12-inch exhaust fan?
Match the duct to a true 12-inch outlet collar, slide the duct over the fan’s outlet, and secure it with a correctly sized clamp or coupler. After turning the fan on, check around the connection for leaks and tighten or reseal if needed.
What should be avoided when routing flexible PVC ducting?
Avoid kinks, crushed or flattened sections, tight 90-degree bends, long sagging spans, and poorly sealed joints. Supporting the duct and keeping bends smooth helps maintain airflow and reduces rattling and leakage.


Leave a comment